|
|
Wuxi Laiteng Door Industry Co., Ltd.
Residential & Commercial & Industrial Doors |
|
|
Wuxi Laiteng Door Industry Co., Ltd.
Residential & Commercial & Industrial Doors |
|
|
Wuxi Laiteng Door Industry Co., Ltd.
Residential & Commercial & Industrial Doors |
 |
 |
 |
 |
How to install garage door
How to install the garage door? Edit from Laiteng door technician with 20 years working experience
A. Construction preparation
1. Material preparation
The specification and model of the flap garage door shall comply with the company's contract and design requirements, with complete information and complete hardware accessories.
2. Mechanical preparation
Liquid level gauge (level tube), electric hammer, adjustable wrench, pliers, level, line pendant, box ruler, etc.
3. Operating conditions
(1) The main structure has been checked and accepted by the relevant department of structural engineering. Handover procedures have been completed between job types.
(2) Check whether the size, elevation and opening direction of the door opening meet the design requirements.
B. Construction work process measures and main practical requirements
Automatic garage door technician informs you how to install the flap garage door
Install straight rails - install door panels - install curved rails and top panels - install torsion spring systems - coil springs and wire ropes - door body debugging - apply sealant - acceptance
1. Install the straight rail
(1) Use a straight rail bracket or a guide rail bracket with a length of 80-100mm per section as a fixed connection, and fix it on the wall with M8×80 expansion bolts.
(2) The most critical link in the installation of the door straight rail is the installation of the door curved straight rail bracket, check the ground, the height of the curved straight rail bracket on the high side of the ground, and then measure the height of the other side with the horizontal tube bracket. After the position is determined, hang the straight rail on the curved straight rail bracket, vertically up and down, and then fix the straight rail bracket on the wall in turn, and fix it with the straight rail.
(3) When there is a surface-mounted auxiliary top plate, after installing the straight rail, the surface-mounted auxiliary top plate can be installed. The top plate is installed under the top stack (roof), and two top plates are used to connect the top plate and the wall for each measurement. Use pull rivets to connect the boards fixed on the roof, and use M8×80 expansion bolts to connect the boards fixed to the wall.
2. Installation of garage door panels
(1) Find a flat ground, the door panels are completely occluded, and pay attention to the position of the floor and the roof. Make the door plank straight, use ink to mark a center line on the door plank, and make a hinge No. 0 along the center line; lay the bottom wheel frame on the floor, and make a distance A/2+3mm from the edge of the door plank along both sides of the door plank (A is the width of the hinge). Make two straight lines (should be parallel to the center line), and make side hinges on the combined plate along the lines (the hinge numbers are arranged in ascending order from bottom to top); make top wheel frames on the top plate. It should be noted that all hinges only secure the bottom hinge leaf to the top edge of each door panel, the top hinge leaf is not fixed in a free state.
(2) Put two 50mm high wooden cubes at the door first, stand the floor in the doorway, insert the roller shaft into the installation hole of the floor wheel frame and the No. 1 hinge, and gently pull the embedded track after the roller is in place. Then install all shutter panels except the top panel to the doorway in turn. Note that the door panels must be edge sealed, and the door panels must be fully engaged. After the three shutter boards are installed, use a level to find the level; if the level is poor, you can adjust the wooden cubes under the mat. After checking that the door panel is fully seated, push the door panel over the side seal and secure all hinges. Note: The bottom of the door panel and the edge of the door must be inlaid with rubber strips to prevent rainwater from entering the room from the bottom of the door or the edge of the door when the door is closed.
(3) Adjust the straight rail to a certain angle to keep the facade vertical, and keep the gap with the side stack at about 15mm, and keep the distance from the left and right straight rails to the wall consistent. Tighten all bolts on the straight rail bracket, taking care not to change the position of the straight rail.
C. Install curved rails and top plate
(1) Connect the curved rail and the straight rail to the straight rail bracket with two M6×16 round head square neck bolts. There are two ways to fix the curved rail: bracket and hanger. According to the actual situation of the door, the wall bracket is the first choice. First make the angle of the curved rail hanger into a triangular bracket (hanger), hold the curved rail, and after confirming the fixed position of the triangular bracket (hanger) in the wall (shed), fix it on the wall (shed) with M8×80 expansion bolts Inside. When the door body is large, two or more sets of brackets (hangers) are fixed on both sides of the arc guide rail. M8×80 between a group of brackets (hangers) at the end and the curved rail; Bolts are fixed, and the middle of the bracket (hanger) is connected to the curved rail with round head square neck bolts M6×16. After the curved rail is fixed, ensure that both sides of the curved rail are on the same level, and the tail of the curved rail is about 20-40mm higher than the front end.
(2) Put the top plate on the door, and insert the roller shaft into the mounting hole of the side hinge and the top wheel frame. Gently pull the straight and curved rails apart, and insert the rollers into the rails.
(3) Adjust the curved rail and the curved rail hanger to ensure that the curved rail and the straight rail are on the same vertical plane, ensure that the left and right rails are parallel, and ensure that the left and right curved rails are on the same horizontal plane. Tighten all bolts.
(4) Adjust the top wheel frame skateboard so that the gap between the door surface and the side seal is about 15mm.
D. Install the torsion spring system
(1) Put both sides of the bracket, sheave and other parts of the torsion spring system on the torsion spring shaft. The left-handed sheave is placed on the left, and the right-handed sheave is placed on the right. According to the relationship between the movement of the door and the force of the spring, it can be seen that the spring is coiled from bottom to top, so the arrangement relationship of the torsion spring, the fixed flange, and the adjustment flange: the left torsion spring, the fixed left flange, and the adjusted right method; right-hand torsion spring, right-hand fixed flange, left-hand adjustable flange. If the double torsion spring system has an intermediate bracket, the intermediate bracket must be placed between the two springs, and the two adjusting flanges are placed in the middle; if there is an intermediate bracket, the adjusting flanges are placed at both ends. Connect the torsion spring, the fixing flange and the adjusting flange together with M8×45 bolts.
(2) Drag the torsion spring shaft to the installation position, fix each side of the bracket on the curved straight rail bracket and the corner of the curved rail with three sets of M8×25 inner hexagon bolts, and the sheave is close to both sides of the bracket. Pay attention to fixing the flange bracket (that is, the middle bracket) and the fixing surface of the middle bracket to avoid sticking to the wall. Properly adjust the position of each part of the torsion spring shaft, single torsion spring system, the torsion spring is centered; double torsion spring system, symmetrical positions on both sides. Pay special attention to the adjustment of the flange edge so that the torsion spring will be stretched to leave a sufficient distance after the coil spring is used.
(3) Determine the fixed position of the intermediate bracket and the fixed flange bracket, and remove the bracket to drill holes. Fix it with M8×80 expansion bolts.
E. Disc spring wears wire rope
(1) Check the door body system, track system and torsion spring system carefully before coiling the spring to ensure that the connections of each component are firm and reliable.
(2) Draw a horizontal line with chalk on the torsion spring. Take two panning rods, insert the thin end of the panning rod into the adjustment hole of the adjustment flange, push up, turn 1/4 turn, insert the other panning rod and hold it, then pull out the previous one to continue Actions. Look at the number of chalk turns on the torsion spring. After reaching the required number of turns, the spring bar will not go on the top plate (a piece of benzene board or cardboard needs to be placed under the wire rod), and then use the fixing screw to adjust the flange lock.
(3) Make a small ring at the end of the wire rope with a buckle, and put it on the lug of the wheel frame at the bottom of the door panel. The wire rope passes through the side of the rope wheel against the wall, and wraps the rear circle on the rope wheel to catch the catch. Turn the sheave to tighten the wire rope, and lock the sheave with the set screw (jack wire). Insert the idling wire rod into the adjusting hole of the adjusting flange, carefully take out the other wire rod, unscrew the wire rod slowly, and pay attention to observe the strength of the spring. If the spring strength is not suitable, you need to loosen the fastening screws on the adjusting flange, remake the disc spring to the appropriate number of turns, and fix the adjusting flange again. Dual spring systems should have the same adjustment for both springs.
(4) After the adjustment is completed, carefully retract the disc rod.
F. Garage door debugging
After the door is installed, recheck and tighten all bolts. Check the door body and track to ensure that there are no obstacles and that the connections of all components are firm and reliable. Add a little glycerin to the track and hinge, and open and close the door several times. Debug the door body until there are no obstacles and noises during the operation of the door body, and it can stay at any position.
G. Apply sealant
(1) The silicone sealant can be applied after the door body is debugged. The door body and the wall surface should be foamed first, and the foam should be fluffy and full. sealant.
(2) On the protective tape on the wall and door panel before applying the glue, the thickness of the silicone weather-resistant sealant should be ≥ 3.5mm, and the construction width should not be ≤ 2 times the construction thickness (between 5 and 7mm).
(3) Use a glue gun to evenly inject the sealant into the glue seam, and scrape off the protective tape with a rubber tube or a plastering knife; the silicone weather-resistant sealant should form a relatively double-sided bond at the seam, and must not form a three-sided bond.
(4) Pay attention to the weather conditions in gluing, avoid high temperature and low temperature operations in the rainy season, and ensure the quality of gluing. And ensure that the thickness of the glue seam is proportional, and the surface is beautiful and smooth.
 High Speed Fabric Roll up Door
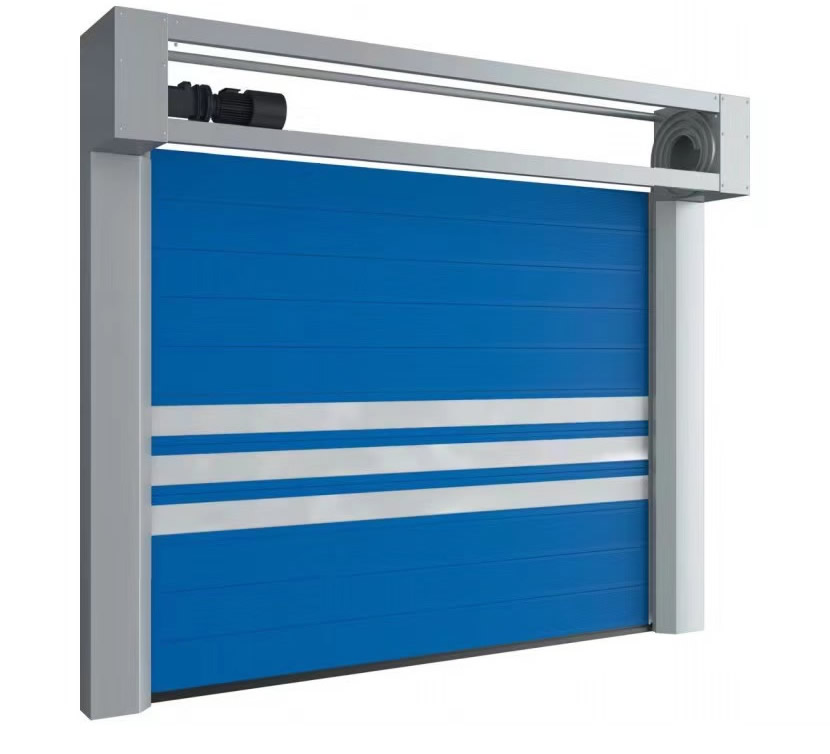 Aluminum Alloy High Speed Spiral Door
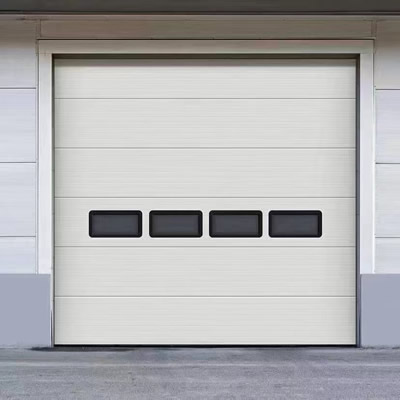 Industrial sectional door
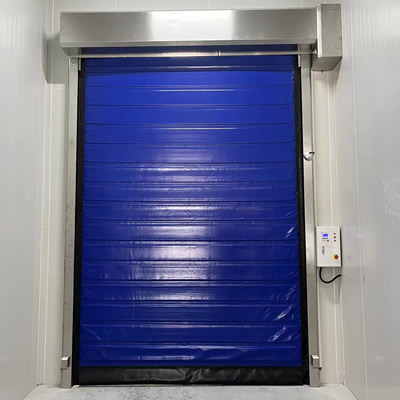 High Speed Roll up Freezer Door for Cold Storage Room
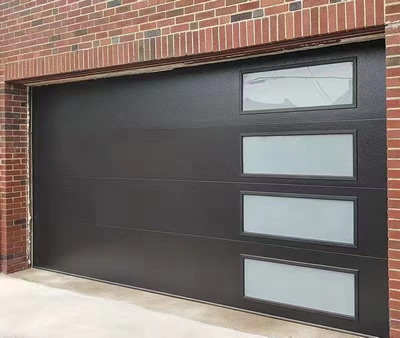 Full View Aluminum Glass Garage Door
We will regularly publish scientific journals on Industrial Door
Subscribe now
Please contact our sales manager using the email address below
[email protected]![]()
Please contact us using the following WhatsApp account
+86 13822136829
![]()